
Overview
Every morning I listen to security podcasts to stay current on CVEs, exploits, and threat trends. The problem is they’re broad by necessity — they cover everything, which means a lot of what I hear isn’t relevant to the stack I’m actually running. I’d finish a 30-minute podcast and come away with maybe two things that mattered to me specifically.
The fix was to build something that pulls the intelligence directly and eventually learns what I care about. This is the first part of a larger project: a human-directed AI security lab built for learning, research, and eventually adversary emulation. The threat intel agent is the right place to start. It’s safe, immediately useful, and exercises every skill the later phases will need: API integration, filtering logic, persistent storage, and LLM-driven analysis.
Part 1 covers getting the full pipeline operational. NVD API pulls every CVE published in the last 24 hours. CISA’s Known Exploited Vulnerabilities catalog flags anything actively weaponized in the wild. A local Mistral model running on Ollama reasons over the results and writes a daily briefing. That briefing gets emailed to my inbox every morning from a dedicated LXC container on my Proxmox homelab.
Part 2 will add personalization: the agent learns which products are in my environment and filters for what’s actually relevant to my stack.
Why Build This Instead of Using a Service
There are plenty of threat intel services out there. I built this anyway for two reasons.
The goal is understanding how these pipelines work well enough to extend them. Building it from scratch means I know every layer. The LLM summarization, the stack-filtering, the delivery logic — I wrote all of it. That depth is the point.
This is also the foundation of a local AI agent stack I’m building to keep sensitive data off public infrastructure. The intel agent is the easy, low-risk piece to build first. The offensive tools and orchestration logic come later, and they use the same architecture.
Environment Setup
Everything starts on my MacBook Pro M2. Once the pipeline is stable it moves to a dedicated LXC on my Proxmox homelab where it can run on a schedule without the laptop being open.
Python 3.9 was already present from Xcode Command Line Tools.

Created the project folder and set up a virtual environment — a contained Python installation scoped to this project so nothing bleeds into the system Python:
mkdir ~/Projects/threat-intel-agent
cd ~/Projects/threat-intel-agent
python3 -m venv venv
source venv/bin/activate
The (venv) prefix in the terminal prompt confirms the environment is active.

Installed the only dependency for this phase:
pip install requests
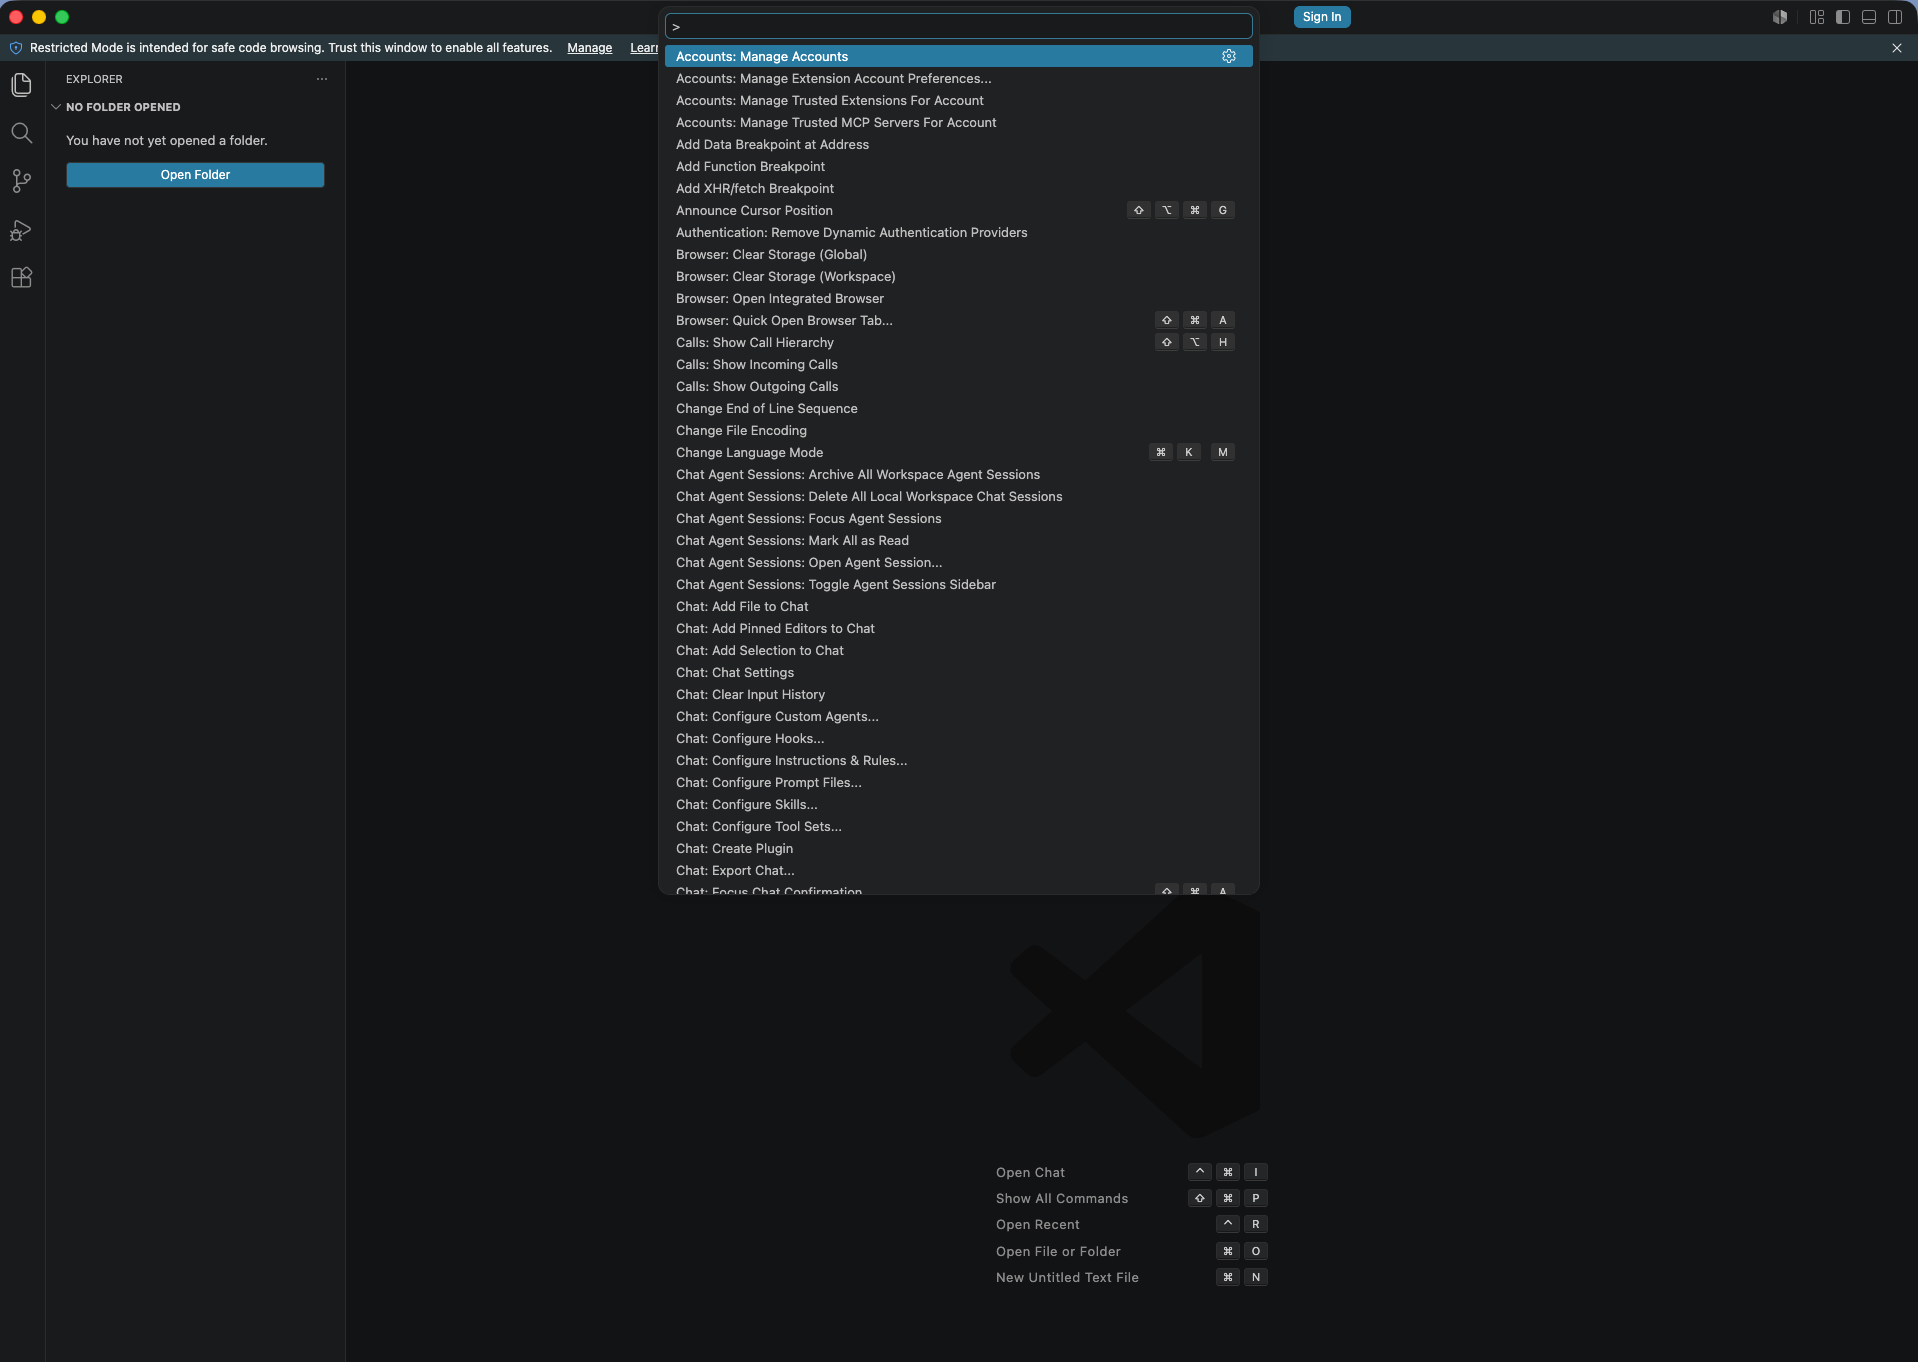
code .Note:
code .requires the VS Code shell command to be installed. If it returnscommand not found, open VS Code manually, hitCmd+Shift+P, and run Shell Command: Install ‘code’ command in PATH.
Pulling CVE Data from NVD
The National Vulnerability Database exposes a free public API that anyone can use, no key required for basic access — just a date range and it returns every CVE published in that window. My first attempts made clear that it is like drinking from a firehose. There is a lot. Filtering is essential.
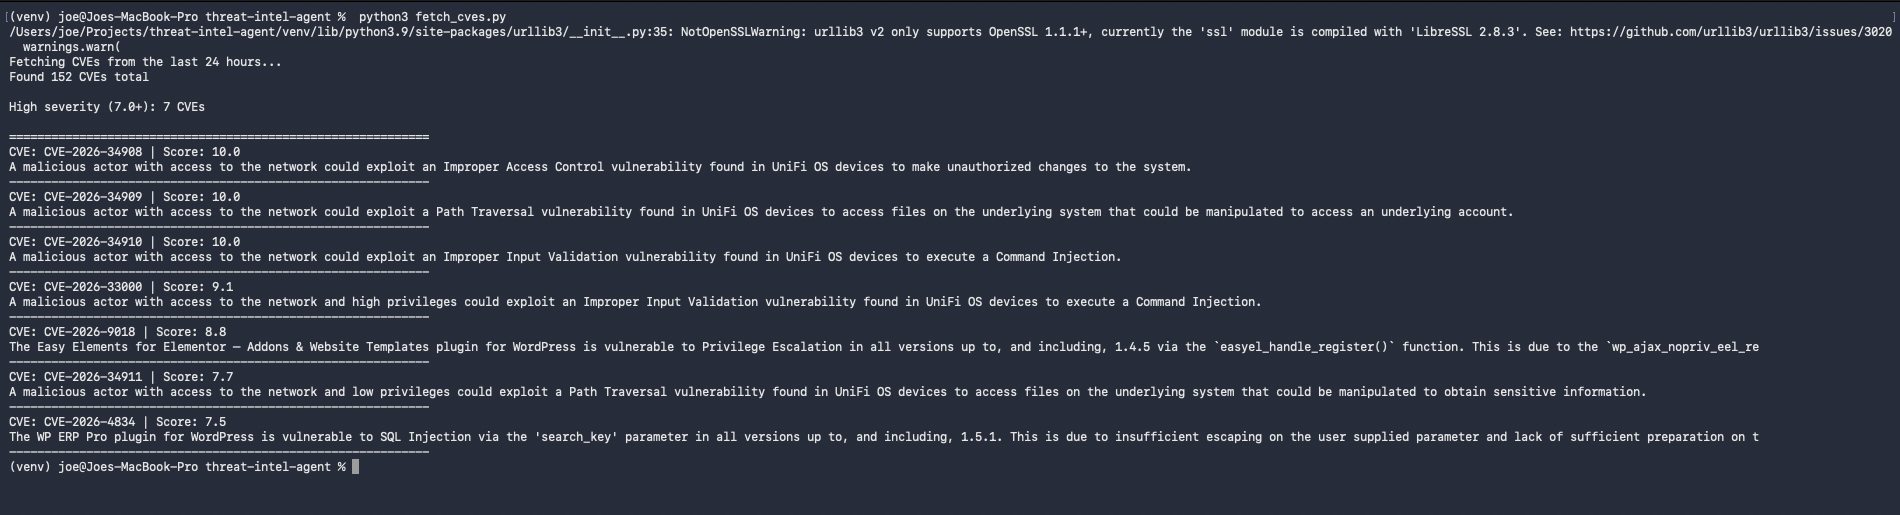
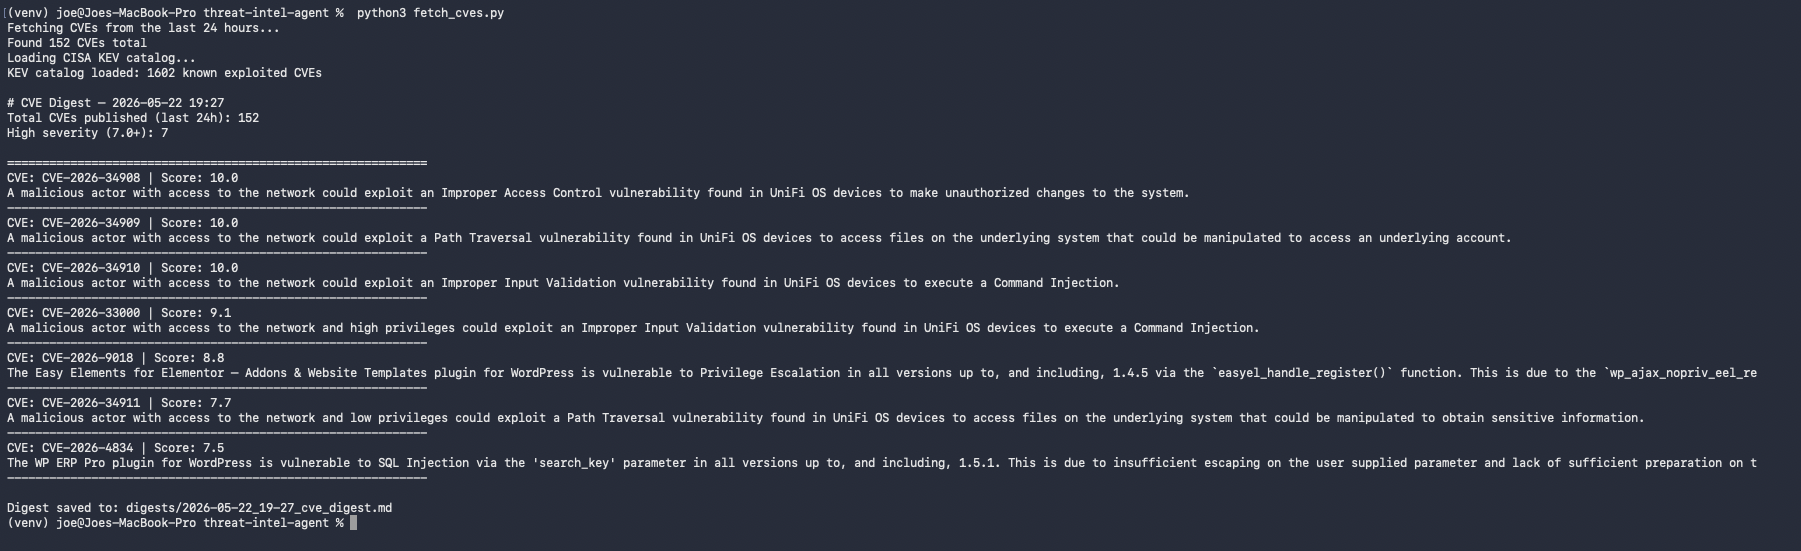
fetch_cves.py calculates a 24-hour window, pulls up to 100 results, extracts CVSS scores, filters to anything scoring 7.0 or above, and sorts highest-first. Only what’s worth reading makes it to the output.

A urllib3 warning about LibreSSL also clutters the output on Python 3.9 on macOS. The fix is moving warnings.filterwarnings('ignore') above the import requests line, before the warning fires at import time.
152 CVEs published that day, 9 scoring 7.0 or above. Of those, five were UniFi OS vulnerabilities — three scoring 10.0. That’s immediately actionable if you’re running Ubiquiti gear on your network.
CISA KEV Cross-Reference
A CVSS score measures theoretical severity. The CISA Known Exploited Vulnerabilities catalog tells you what’s actually being used against people right now. Every CVE on it has been confirmed actively weaponized in the wild.
CISA publishes the catalog as a free JSON feed. The script pulls it at runtime and builds a lookup set, then flags any CVE in today’s results that also appears in KEV:
def get_kev_catalog():
    url = 'https://www.cisa.gov/sites/default/files/feeds/known_exploited_vulnerabilities.json'
    response = requests.get(url)
    response.raise_for_status()
    data = response.json()
    return {v['cveID'] for v in data.get('vulnerabilities', [])}
The catalog currently holds 1,602 known-exploited CVEs. None of today’s new CVEs were in it, which is expected. CISA typically adds a CVE days to weeks after confirmed exploitation, not the same day it’s published. The cross-reference pays off over time. Any day a brand-new CVE also shows up in KEV, that’s an extreme signal, and this will catch it.
Saving the Digest
Printing to a terminal nobody’s watching isn’t useful. This also needs to be a foundation for later phases, so the data needs to persist. The script now writes a timestamped markdown file to a digests/ folder on every run — a persistent record that accumulates over time and can be searched later.
digests_dir = Path('digests')
digests_dir.mkdir(exist_ok=True)
filename = datetime.now().strftime('%Y-%m-%d_%H-%M') + '_cve_digest.md'
filepath = digests_dir / filename
filepath.write_text(digest)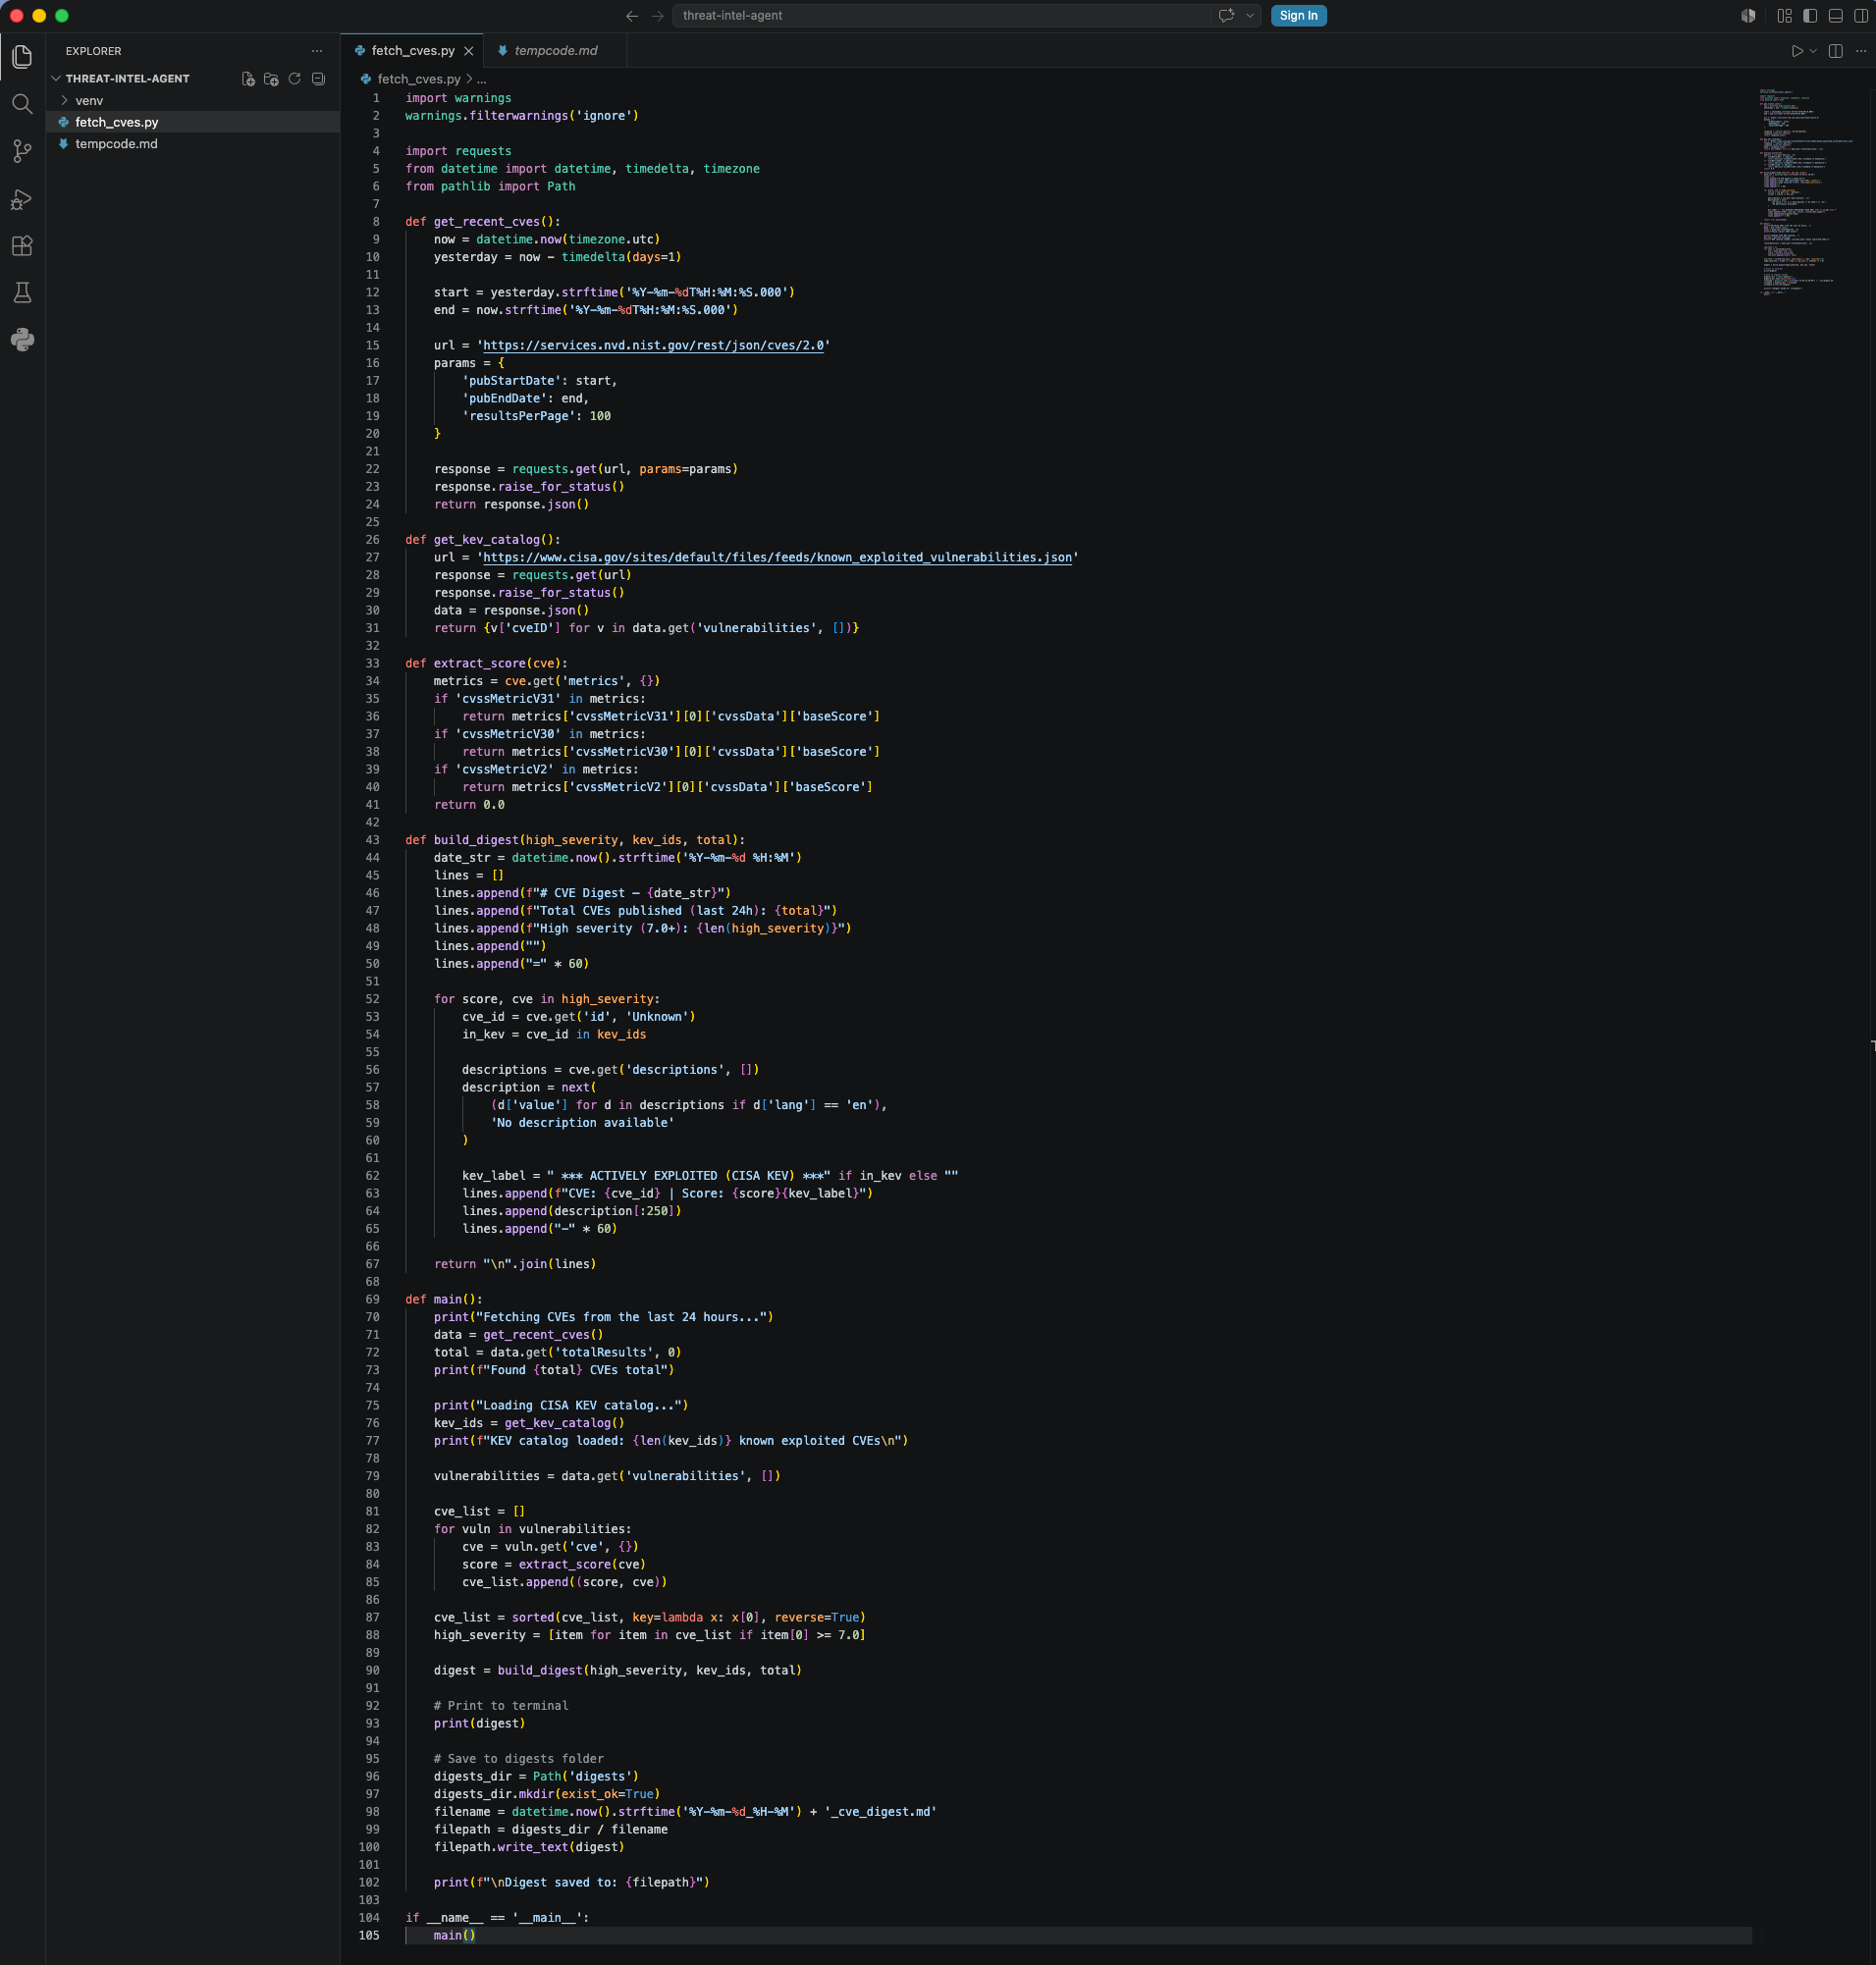
The full pipeline running end to end: CVEs fetched, KEV catalog loaded, filtered and sorted, digest written to disk.
The first real digest file in the VS Code sidebar: 2026-05-22_19-27_cve_digest.md.

Building DANEEL: The Agent Layer
A script that runs manually and prints to a terminal is a tool. The next step is turning it into an agent: something with a defined persona, persistent memory, the ability to call tools, and the ability to reason over what those tools return.
The agent is built as a Python class — ThreatIntelAgent — with four responsibilities:
- Tools: fetch CVE data and cross-reference KEV
- Memory: track what it has seen before and how many briefings it has generated
- Reasoning: hand the structured CVE data to a local LLM and get back a written briefing
- Delivery: send the briefing by email
The persona is defined up front:
PERSONA = {
    "name": "DANEEL",
    "role": "Threat Intelligence Analyst",
    "instructions": (
        "You are DANEEL, a senior threat intelligence analyst. "
        "Your job is to review the day's CVE data and produce a clear, "
        "concise briefing for a security professional. "
        "Lead with what matters most. Flag anything actively exploited. "
        "Be direct -- no filler, no fluff. "
        "End with a one-line tactical recommendation."
    ),
}
DANEEL is named after R. Daneel Olivaw from Isaac Asimov’s Foundation and Robot series — a robot detective whose job is to protect humans by anticipating threats before they land. Fits the brief.
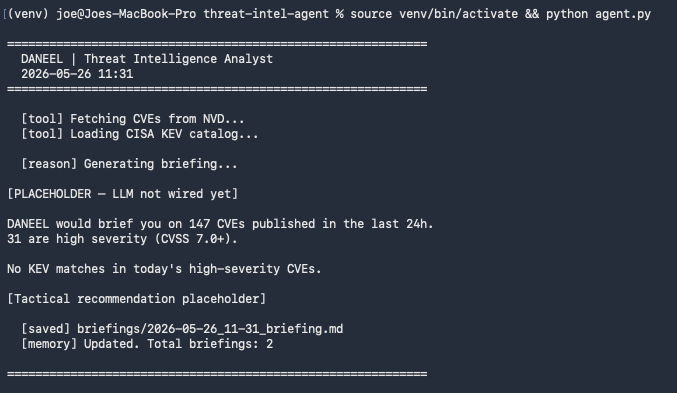
First the skeleton: agent class with persona, memory load/save, and a stub run() method. No LLM, no email — just confirming the structure works before adding complexity.
Then _fetch_cve_data() gets wired in as a tool — the same filtering logic from fetch_cves.py, now called as a class method:
Data pipeline confirmed inside the agent. Now add the LLM.
LLM Summarization with Ollama and Mistral
Ollama runs LLMs locally. No API keys, no data leaving the machine, no cost per inference. Install it on the Mac first to validate the integration before moving it to the homelab:
brew install ollama
ollama pull mistral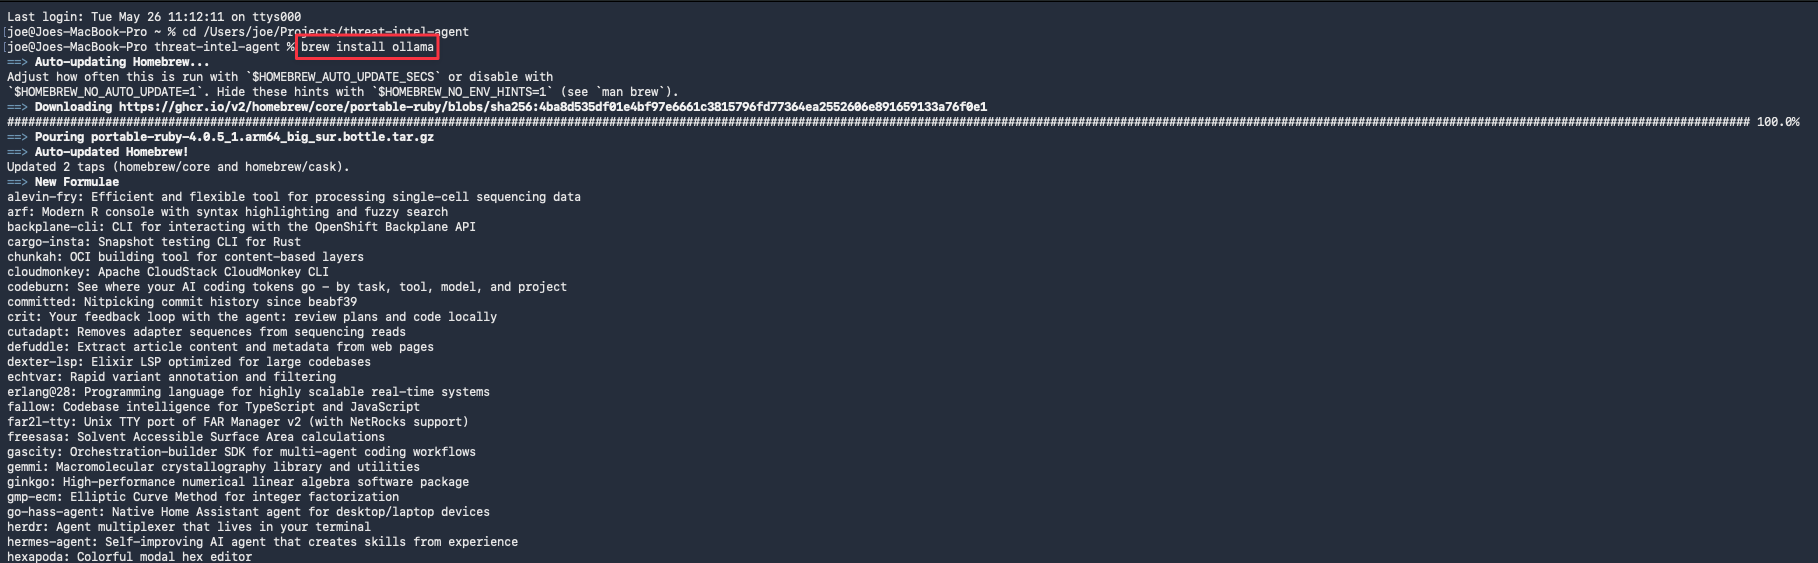


The reason() method takes the structured CVE data, builds a prompt with the day’s high-severity findings, and sends it to Mistral via the Ollama Python library:
response = ollama.chat(
model="mistral",
messages=[
{"role": "system", "content": self.PERSONA["instructions"]},
{"role": "user", "content": user_message},
],
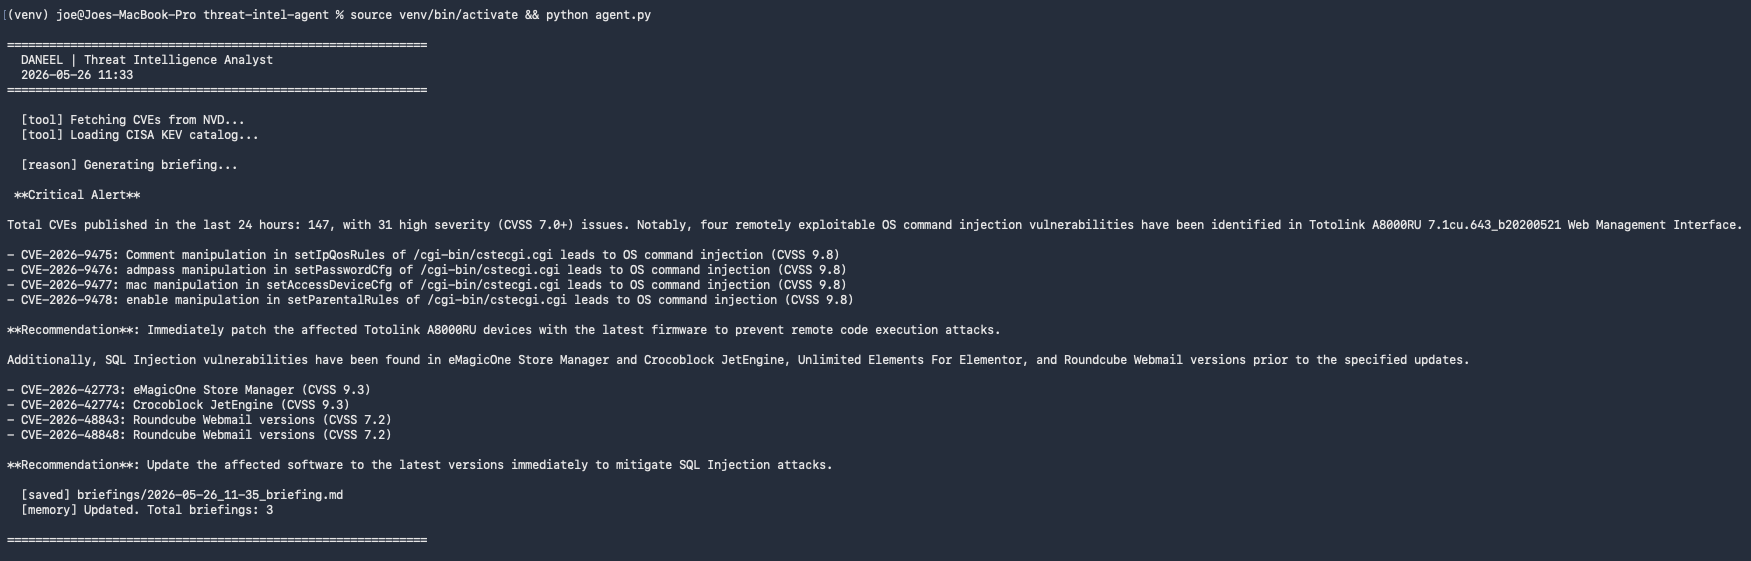
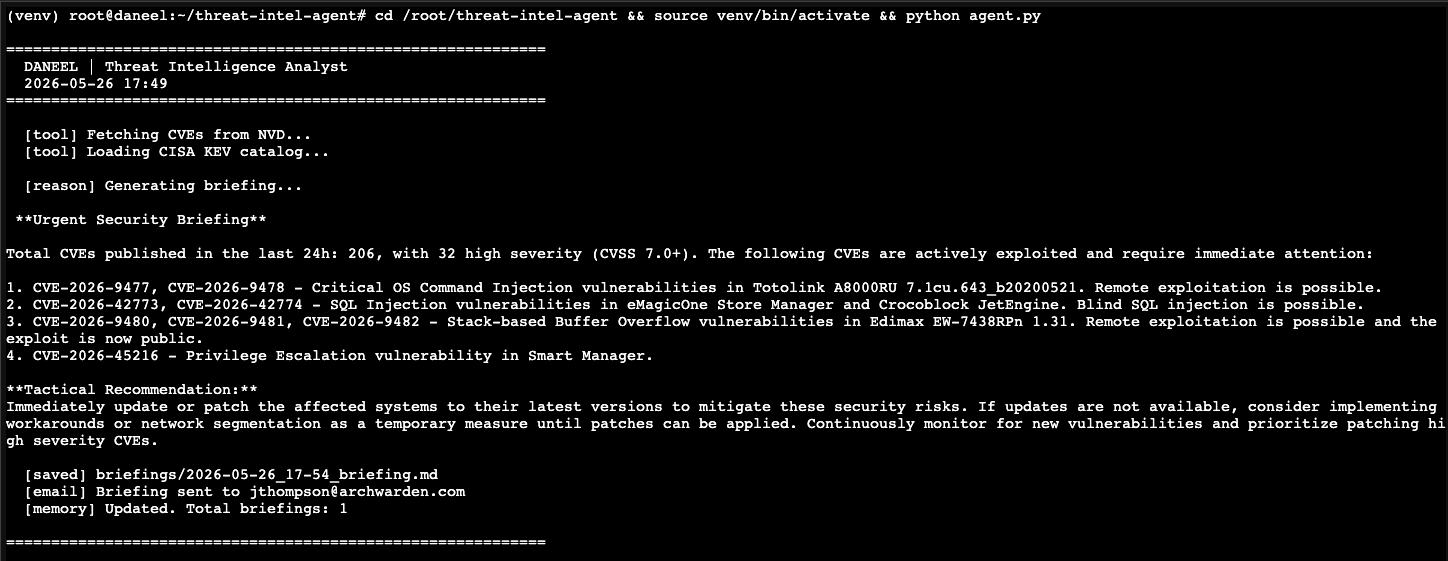
)The LLM receives the total CVE count, the high-severity list with scores, any KEV flags, and a 300-character description of each CVE. It produces a written briefing: what matters most, what’s actively exploited, and a tactical recommendation at the end.
Deploying to Proxmox: The daneel LXC
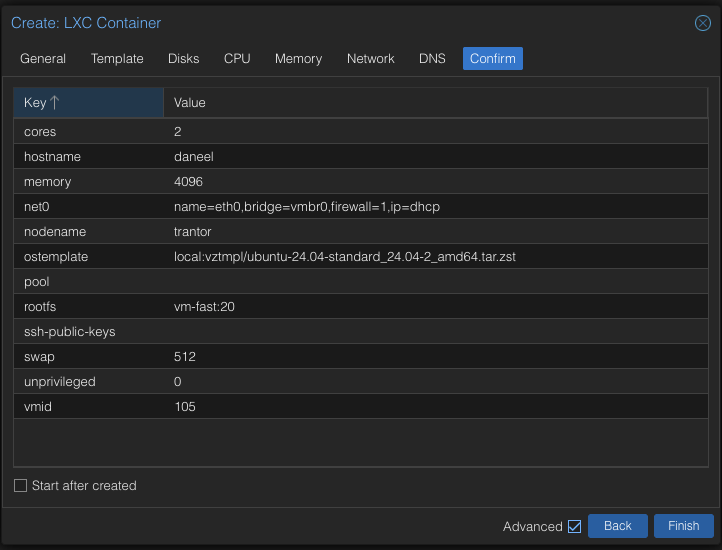
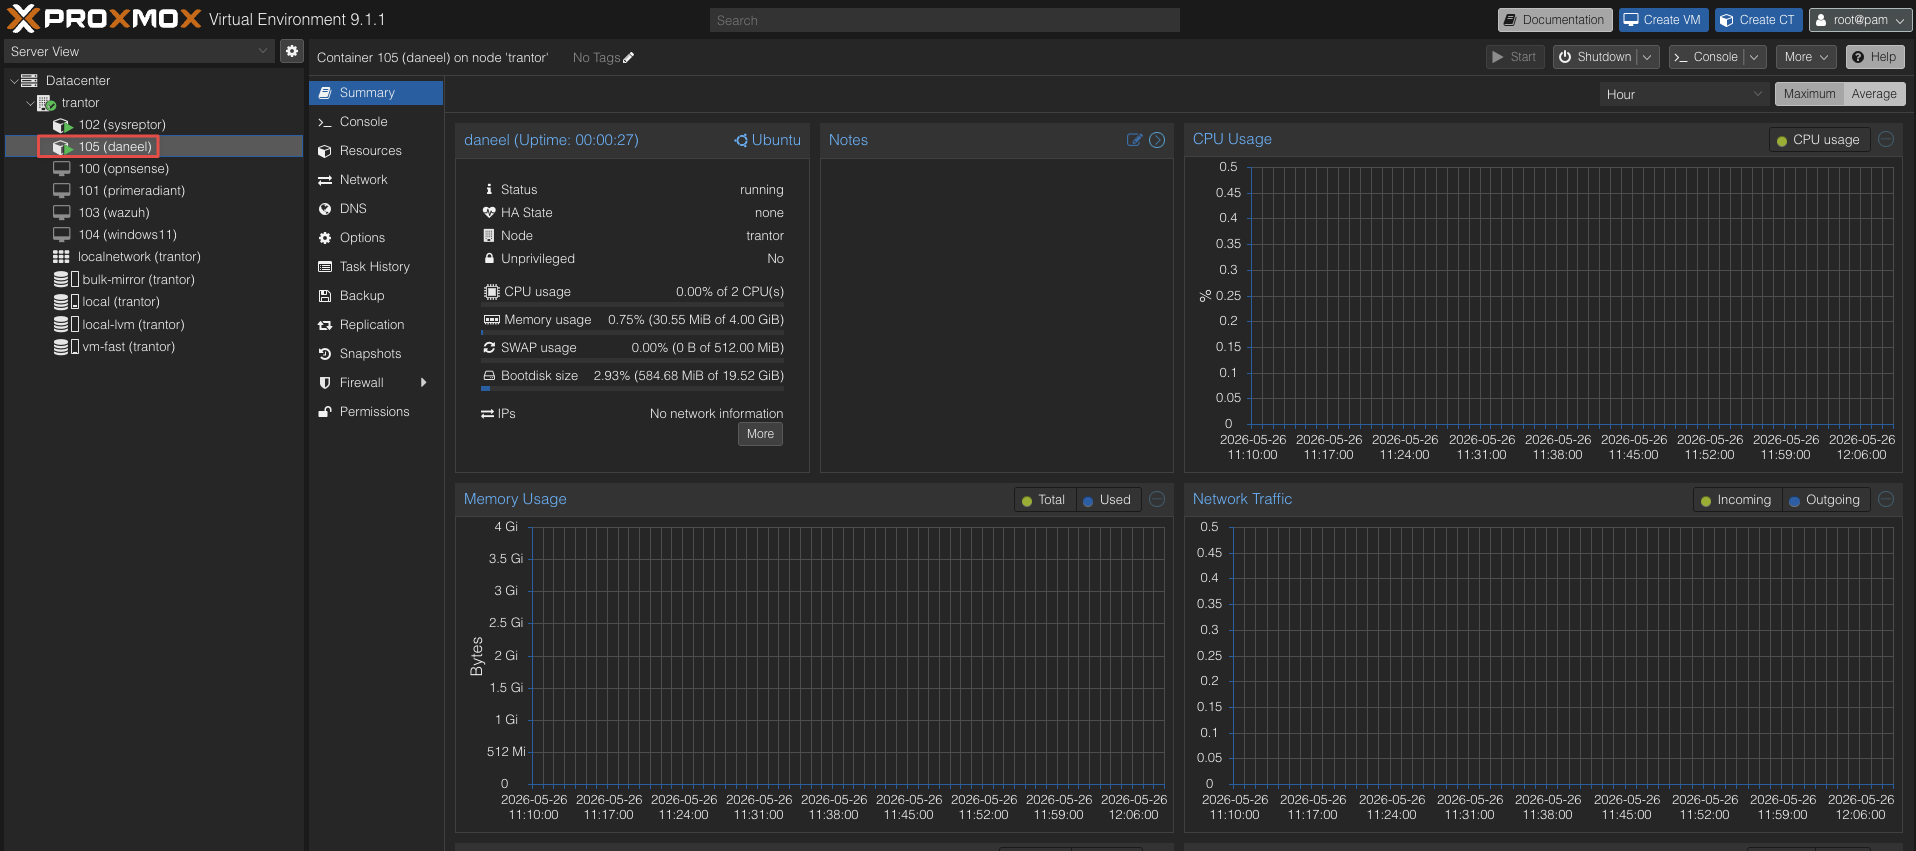
Running this on the laptop was never the goal. The agent needs to run on a schedule without the machine being open. I spun up a dedicated Ubuntu 24.04 LXC on my Proxmox homelab and named it daneel — consistent with the Foundation naming convention I use across the lab.
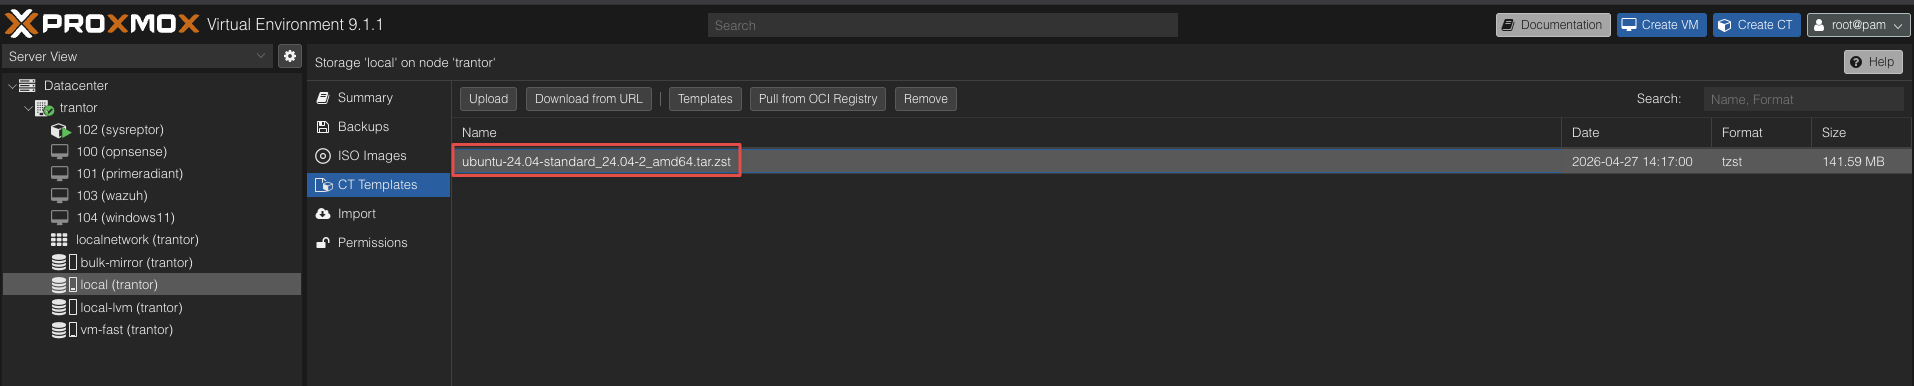
Proxmox makes LXC deployment straightforward. Pull the Ubuntu template from the CT Templates store, configure resources, and start.
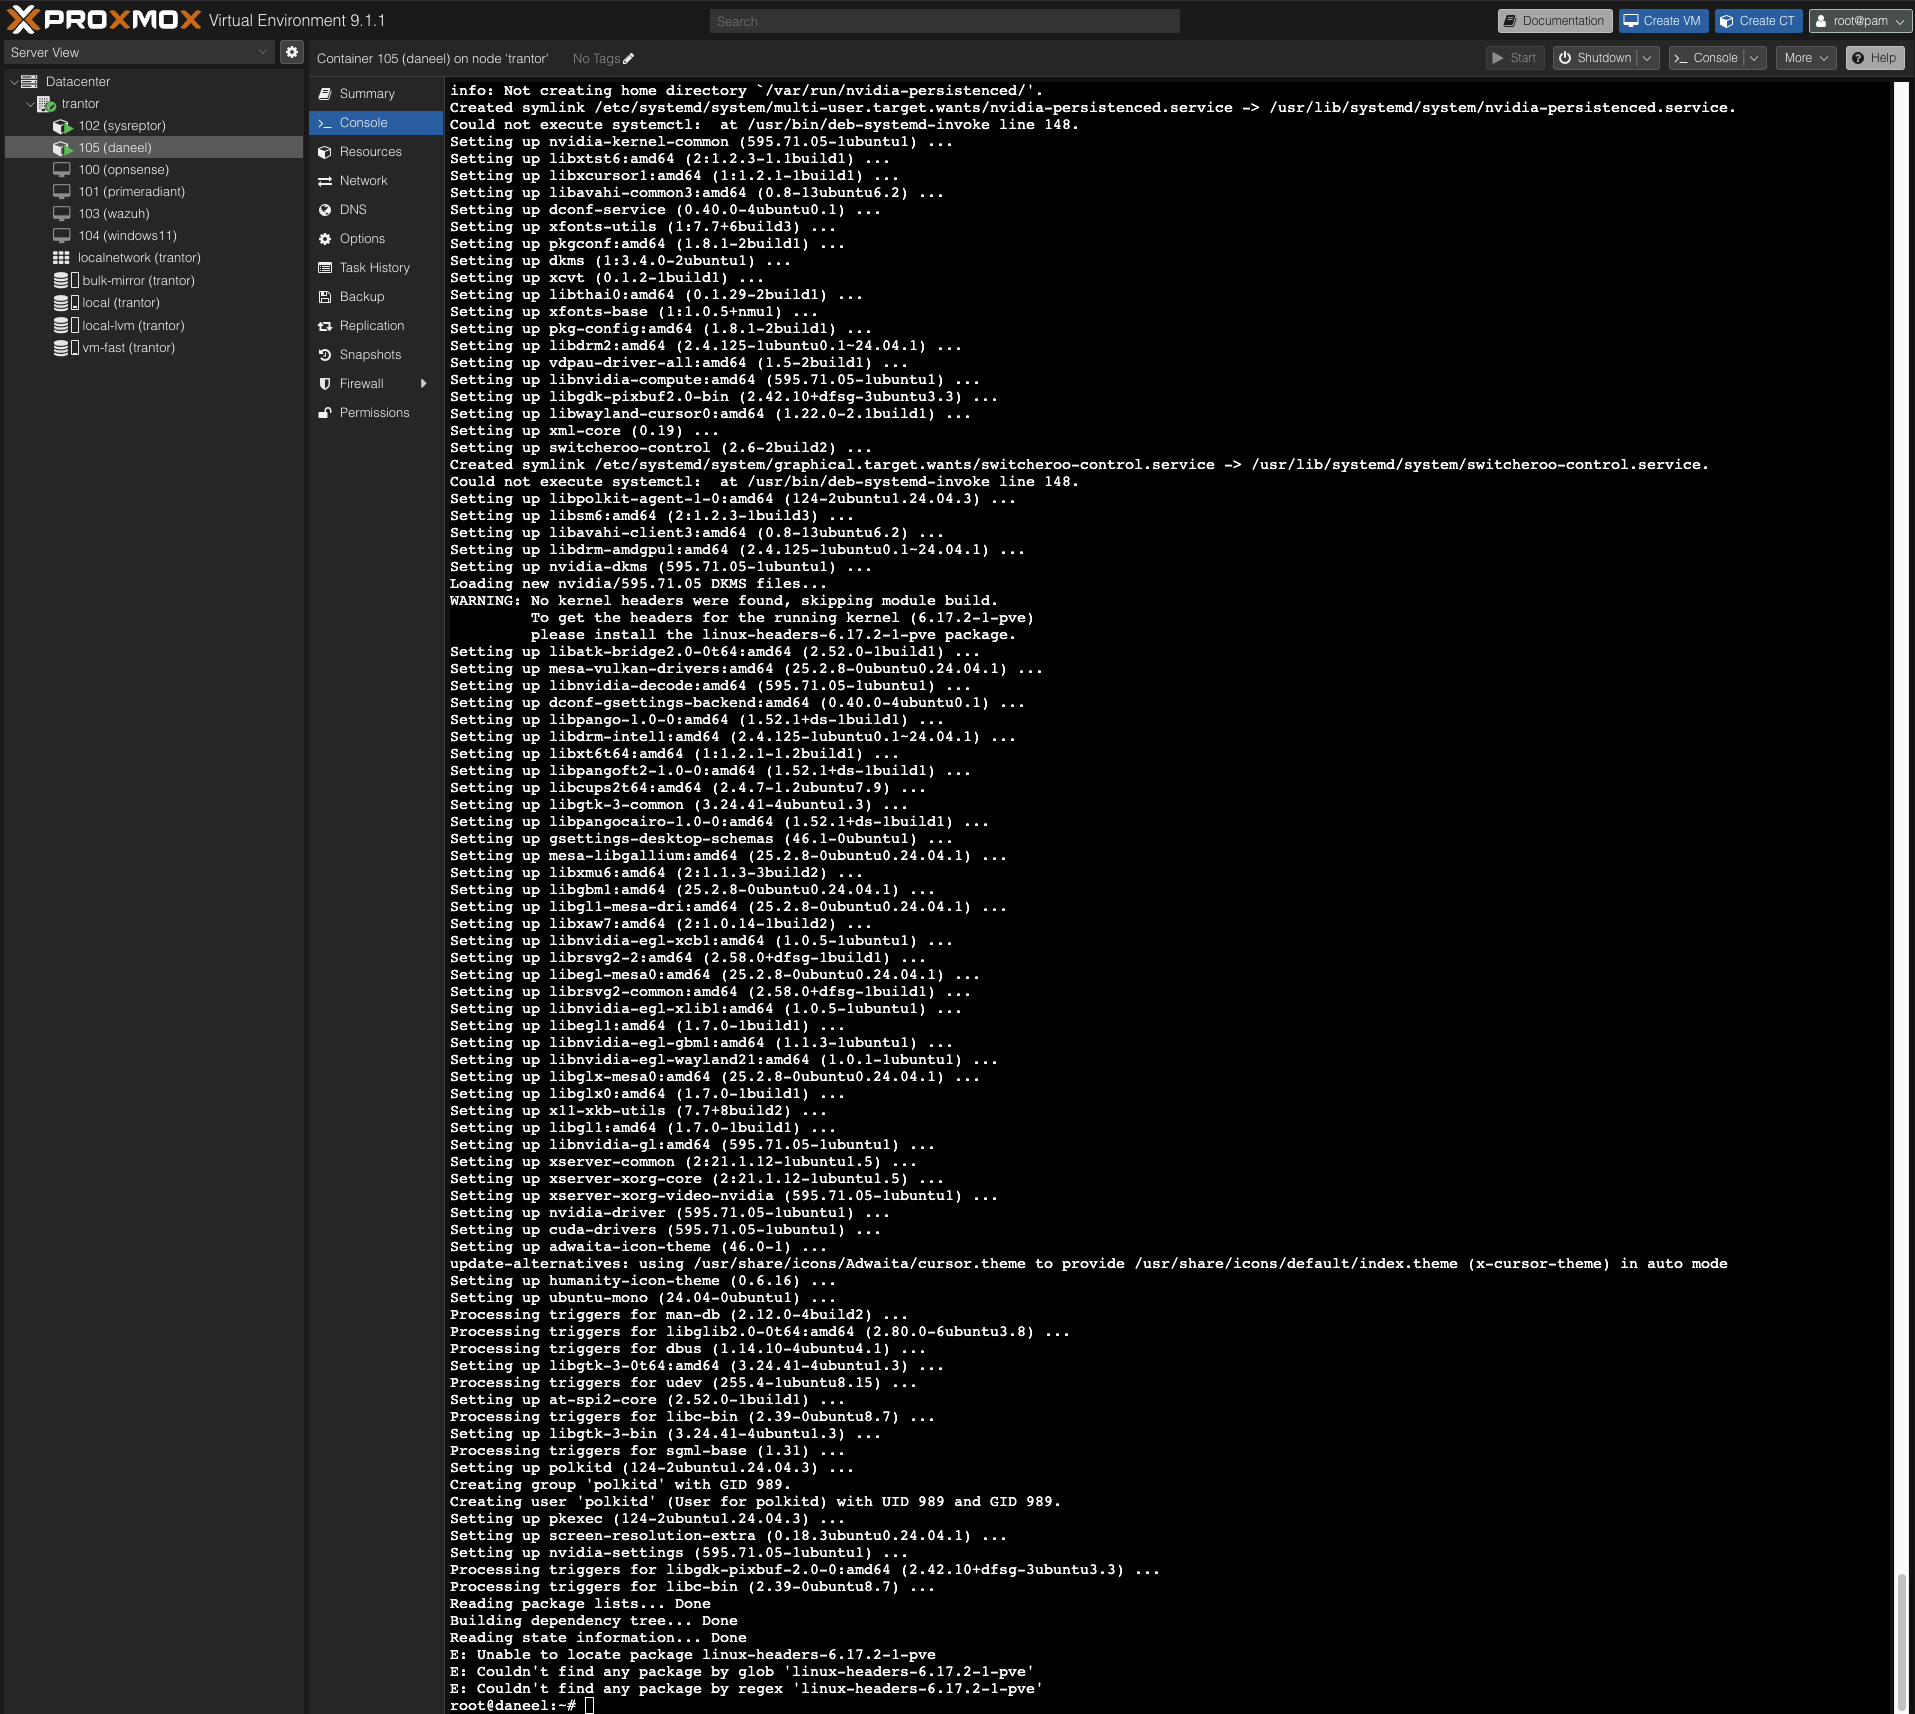
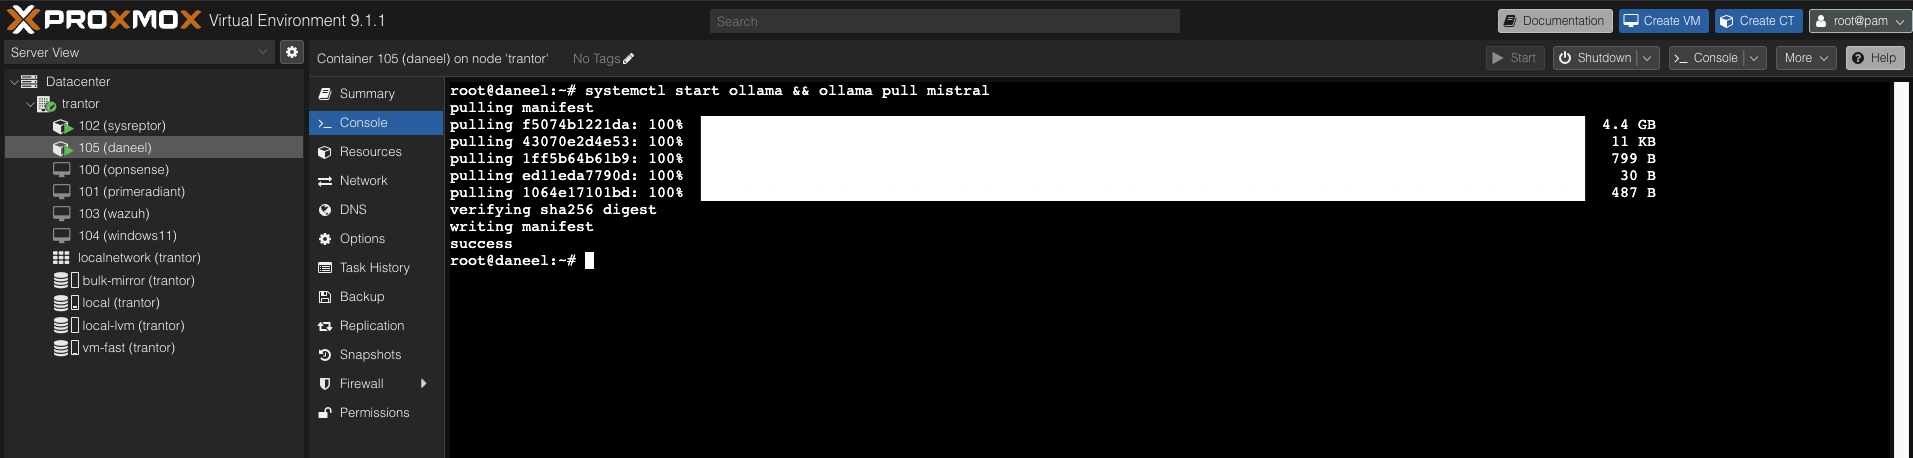
With daneel running, install Ollama and pull Mistral directly on the container:
curl -fsSL https://ollama.com/install.sh | sh
ollama pull mistral
Note: Mistral needs approximately 4.5 GB of RAM to run. Allocate at least 6 GB to the LXC to give it headroom.
Transfer the project files from the Mac to daneel and set up the virtual environment:
scp agent.py fetch_cves.py .env.example [email protected]:/root/threat-intel-agent/
cd /root/threat-intel-agent
python3 -m venv venv
source venv/bin/activate
pip install requests python-dotenv ollama
Email Delivery via Proton SMTP
A briefing written to disk and never read isn’t useful. The agent sends the finished briefing to my inbox every morning.
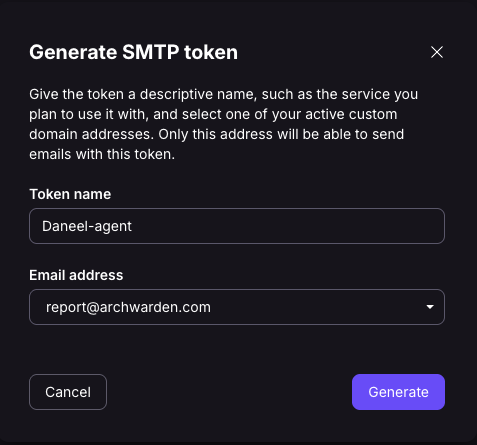
Proton Mail provides SMTP access for sending programmatically. Under account settings, generate a dedicated SMTP token — it authenticates the connection without exposing the account password.
SMTP credentials go in a .env file on daneel — never hardcoded into the agent:
SMTP_HOST=smtp.protonmail.ch
SMTP_PORT=587
[email protected]
SMTP_PASS=your-smtp-token
[email protected]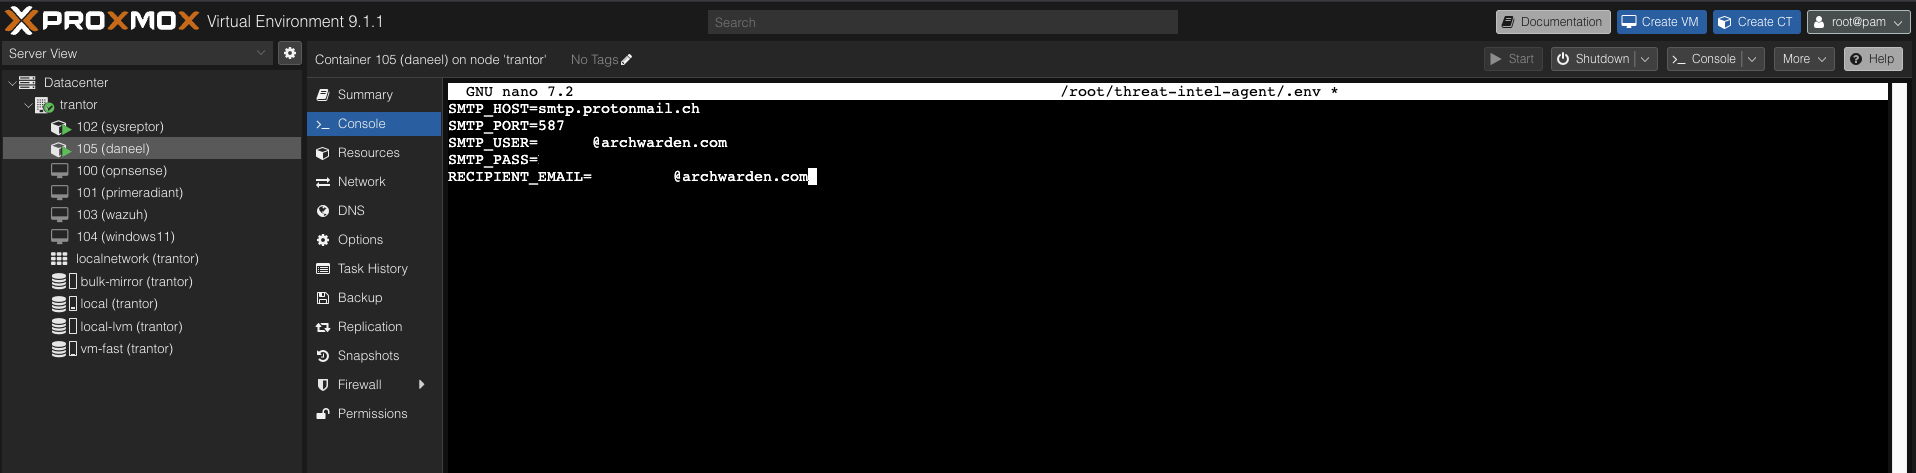
The _send_email() method loads those values at runtime and sends via STARTTLS on port 587:
with smtplib.SMTP(smtp_host, smtp_port) as s:
    s.starttls()
    s.login(smtp_user, smtp_pass)
    s.send_message(msg)
With credentials in place, run the full agent on daneel for the first time:
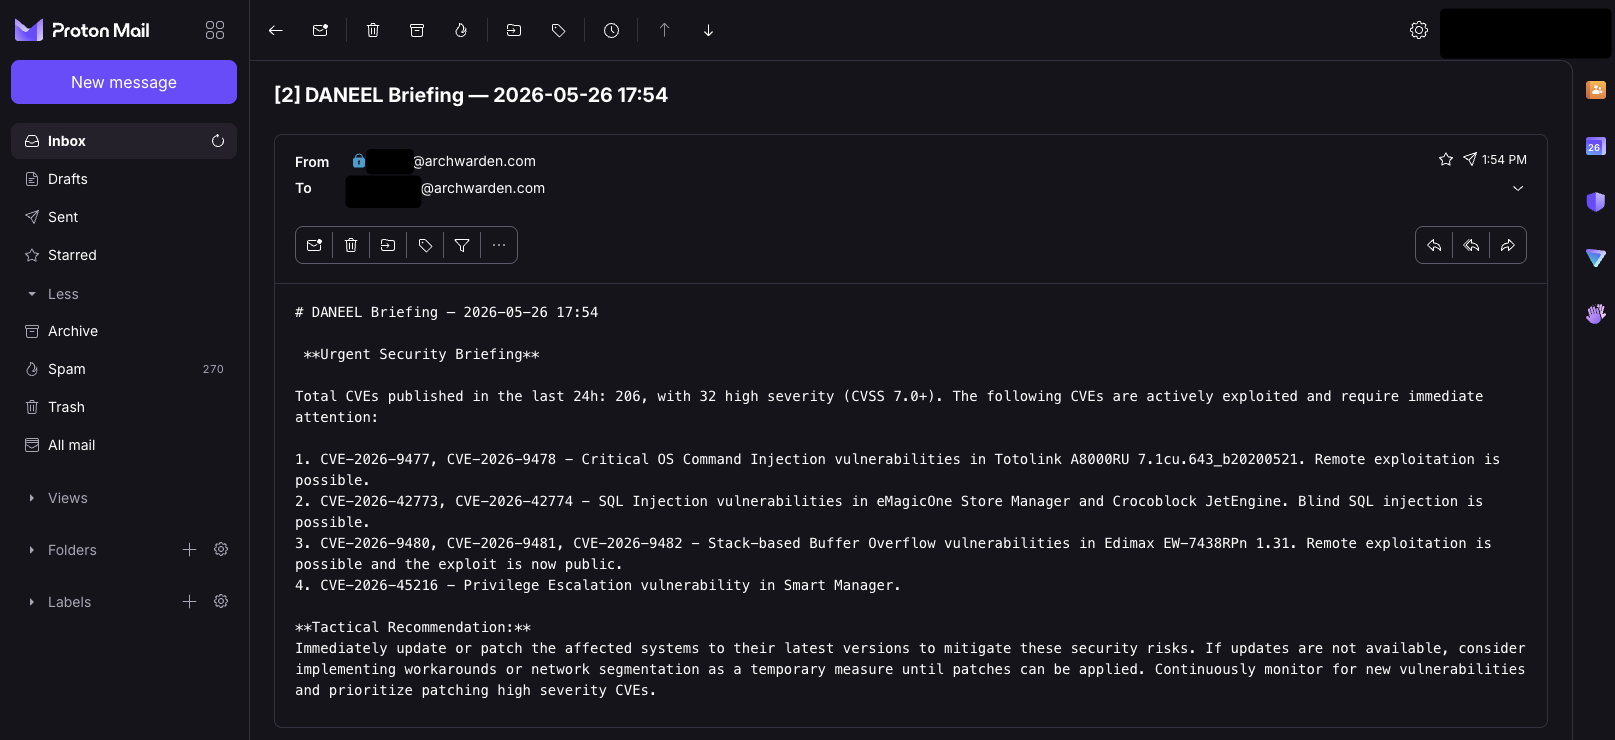
Briefing in the inbox. Pipeline confirmed end to end.
Scheduling the Daily Briefing
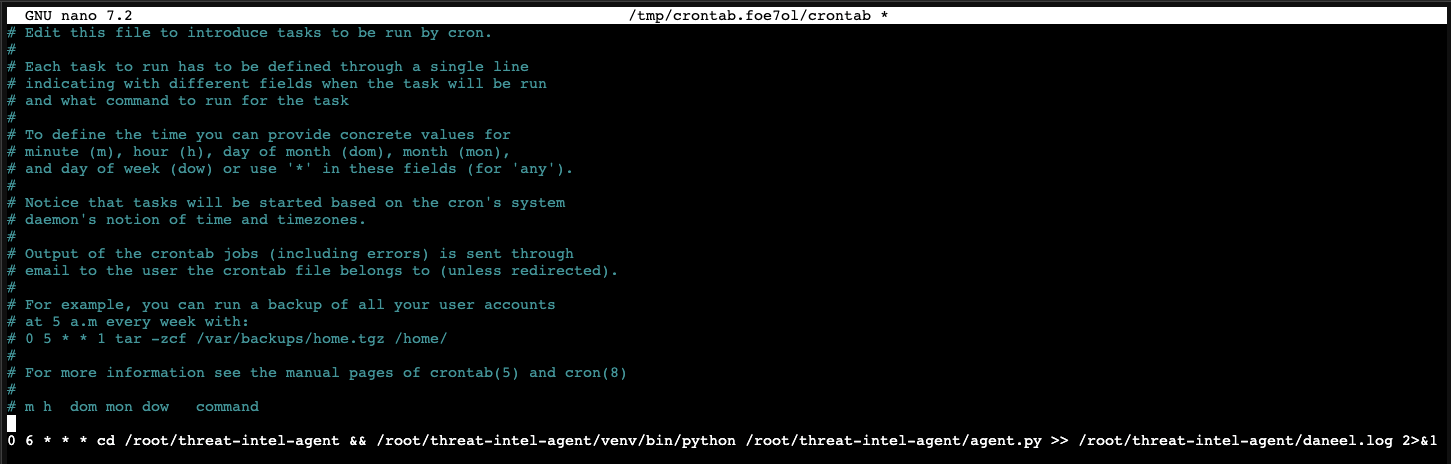
The final step: automate it. A cron job runs the agent every morning at 6am UTC, logs output to daneel.log, and requires no interaction after it is set.
crontab -e0 6 * * * cd /root/threat-intel-agent && /root/threat-intel-agent/venv/bin/python /root/threat-intel-agent/agent.py >> /root/threat-intel-agent/daneel.log 2>&1The full venv Python path means the job works without the environment being manually activated. Output goes to daneel.log so if something breaks overnight there’s a record to check.
DANEEL now runs autonomously. Every morning at 6am UTC it fetches the latest CVEs, cross-references KEV, reasons over the results with a local LLM, and delivers a written briefing to my inbox.
Current State
The full pipeline is operational:
- Pulls every CVE published in the last 24 hours from NVD
- Cross-references against CISA’s known-exploited catalog
- Filters to high severity (CVSS 7.0+), sorted by score
- Flags actively exploited CVEs
- Reasons over the results with Mistral running locally on Ollama
- Writes a timestamped briefing to disk
- Emails the briefing via Proton SMTP
- Runs daily at 6am UTC on a dedicated Proxmox LXC
- Maintains persistent memory of CVEs seen and briefings generated
Part 2 adds personalization. The agent learns which products are in my environment and filters the briefing to what’s actually relevant to my stack. No more reading about vulnerabilities in software I don’t run.
Key Takeaways
- The NVD API returns 200 with zero results on a bad date format rather than an error. If a script produces no output and no exception, check the request parameters before anything else
- CVSS scores measure theoretical severity. The CISA KEV catalog tells you what’s actually being used against people right now. Both matter, for different reasons
- Getting the data pipeline working before adding any AI makes the AI layer much easier to reason about. The LLM knows exactly what it’s working with because I do too
- Build the skeleton first. Confirm each layer works before adding the next. A broken agent is much harder to debug than a broken script
- STARTTLS is required for external SMTP on port 587. Proton’s external SMTP service authenticates with a dedicated token generated from account settings
- Right-size the LXC for the model. Mistral needs about 4.5 GB of RAM. Allocate enough headroom upfront rather than troubleshooting OOM errors after deployment